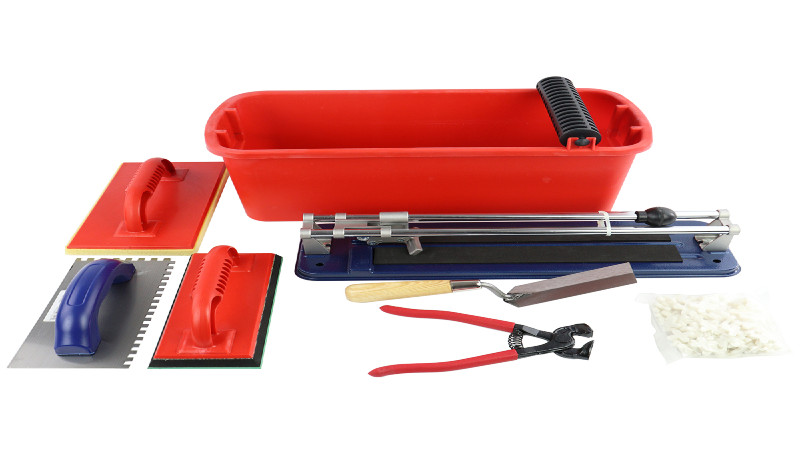
When embarking on a tiling project, whether you’re a seasoned professional or a DIY enthusiast, one of the most crucial tools you’ll need is a V Notch Trowel . This specific type of trowel is essential for achieving the right adhesive application, ensuring that your tiles are not only aesthetically pleasing but also securely placed. Understanding how to choose the correct V notch trowel can significantly impact the outcome of your tiling project.
Understanding V Notch Trowel Sizes and Their Uses
Size Matters:: The size of a V notch trowel is determined by the width and depth of the notches. These dimensions are crucial because they dictate the amount of adhesive that will be applied to the substrate. Here are some common sizes and their typical applications:
- 1/8” x 1/8”: : Ideal for small ceramic tiles up to 4 inches in size. This size helps avoid excessive adhesive that can ooze up between smaller tiles.
- 3/16” x 3/16”: : Best for ceramic wall tiles or tiles up to 6 inches. This size ensures a moderate amount of adhesive that is perfect for vertical surfaces.
- 1/4” x 1/4”: : A versatile choice suitable for ceramic tiles over 6 inches but less than 12 inches. It provides a good balance between adhesive coverage and depth.
Choosing Based on Tile Type and Size:: The rule of thumb is that the larger the tile, the larger the notch required. Larger notches distribute more adhesive, which is necessary to properly set bigger tiles and ensure they are level and well adhered. For example, 12-inch tiles or larger generally require a 1/4” x 3/8” V notch trowel.
Consider the Adhesive and Substrate
Type of Adhesive:: Different adhesives have varying consistencies and drying times. For instance, a thicker adhesive might require a trowel with deeper notches to ensure a suitable bed for the tiles.
Substrate Characteristics:: The surface onto which the tiles are being installed also plays a critical role in selecting the right trowel. A rougher surface may need more adhesive and, consequently, a trowel with larger notches to achieve a level surface for the tiles.
Practical Tips for Using V Notch Trowels
- Test the Trowel: : Before starting your project, it’s a good practice to spread some adhesive on a practice surface to see how it sets and holds the tile.
- Keep It Clean: : Regularly clean the notches of your trowel to ensure consistent application of adhesive.
- Apply Even Pressure: : When applying adhesive, use consistent pressure to ensure an even spread that will result in a flat, smooth installation.
Conclusion
Choosing the right V notch trowel for your tile project is not just about picking any tool off the shelf. It requires consideration of tile size, type, adhesive characteristics, and the substrate. By understanding these aspects, you ensure that your tiling project is not only visually appealing but also durable. Remember, the right trowel not only facilitates easier work but also enhances the final appearance and longevity of your tile installation. With these insights, you are now better equipped to select the ideal V notch trowel for your next tiling endeavor.
